• Skip to main content
Request a Service
Menu
  • Home
  • About Us
  • Residential
  • Commercial
  • Special Projects
  • Blog
  • Contact Us
(205) 823-2111
Request a Service

Uncategorized

Jan 27 2020

5 Things To Consider When Hiring A Handyman

img 560x420 6

Every homeowner experiences the occasional household mishap. Whether it is a leaky pipe or clogged gutters, or something a bit more serious like water damage or a blown fuse; every household is equipped to handle varying levels of problems differently. 

Like most things, safety should always come first. Determining whether to hire a handyman or attempt to fix the problem yourself can be a difficult choice but, let’s be honest, you probably are not a professional, your spouse’s sarcasm is in full effect, and you have a full-time job. 

Do not fear! The handyman is here! 

Here are 5 practical and important things to consider when hiring a handyman:

1: How Big Is The Problem?

Determining how severe the problem is can be as simple as assessing the situation yourself or calling the nearest handyman service to assess the size of the problem. This step should always be first because it determines who is fit for the job. For example, a small-time fixer-upper is not likely to be equipped with the tools or the experience for a huge job. This first step can also help to determine how much it will cost to fix your problem. 

2: When Does The Problem Need Fixing?

More often than not, everyday household inconveniences do not present any immediate danger. For example, your pine straw-filled gutters are not likely to bring your roof down. There are some dangers, however, that require immediate attention even if they do not appear to be severe. It is important to call a professional when dealing with the safety of the home you and your family live in. 

3: How Much Will It Cost?

Different problems have different prices. Often, it is cheaper to fix household problems with a handyman than to file an insurance claim because of high deductibles and increased monthly payments. Most handyman services offer free estimates for projects based on an on-site visit and assessment. It is important to factor in every possible cost when budgeting for a project including the cost of what might happen if the problem is left unfixed! 

4. Who Am I Letting Into My House?

Do. Your. Research. It is always important to visit a company’s website and read their standards and guidelines. Is the handyman insured? Does the company conduct frequent drug and alcohol screening? Do they run background checks? Learning these important details can help prevent a possible disaster from happening. Reading online reviews and talking to your friends and neighbors can help you decide on the perfect match for your needs. 

5. How Can I Make This Process Easier?

Establishing a good relationship with your local handyman can save you stress and money in the future. Life can get hectic and the last thing on your mind should be the safety and well-being of your home. Leaving an honest and thorough review online for the handyman is also a great way to compliment a good day’s work or to warn others of less-than-qualified “professionals”

Written by Stephen Alberts · Categorized: Uncategorized

Dec 30 2019

3 Steps to Creating the Perfect Playroom or Area

img 560x420 7

Kids like to play and they like to be uninhibited when they do so. The walls of your home may become abstract works of toddler art, your floors become littered with toys that seem to have come to life because no matter how many times you pick them up they’re right back out ten minutes later. And every December those toys multiply because, of course, you got them everything on their Christmas list. 

Is there a solution?

Yes!

Creating a designated playroom or play area for your child, complete with a space for their abstract toddler wall-art. 

Let’s get started.

Step 1: Choosing a location and making it playful

The first step is simply finding space in your home to dedicate as your child’s play area. If you have a spare bedroom or an unused bonus room then choosing the location of your child’s playroom/area is simple. You can skip ahead to the next step.

If you don’t have an unused room in your home you may be thinking creating a play area is impossible for you, but it isn’t.

Option 1: Color- block an area in your child’s bedroom as a play-area. 

This is probably the most practical option. If your child’s bedroom is large enough to designate enough space that they don’t feel cramped while they play. You can delineate your play area with color blocking.  Pick a corner of the room and paint the play area walls with vibrant colors and place down a large, colorful area rug. 

Option 2: Dual Purpose spaces. 

If you don’t have a spare room and your child’s bedroom is also too small to contain their active playtime, consider utilizing a less used room in your home or a room where their playtime will be less disruptive. 

For instance, if you have a den area that is under-utilized consider sectioning off a portion in the same way that you would their bedroom. 

Step 2: Providing a canvas for toddler wall-art

Kids like to draw and paint on everything. Unfortunately, that includes your walls. 

You can toddler-proof your walls by using high-gloss paint to make removing their doodles a whole lot easier. You can also dedicate a wall to their artistic expression.

Option 1: Dry Erase Wall

Choose one of the walls of your child’s dedicated area and turn it into a giant whiteboard so they can doodle to their heart’s delight. 

You can install dry erase wallpaper such as Murals Your Way. This is a great option for young children who like to color. Murals Your Way provides a variety of coloring book style murals to choose from at a convenient price. If you would rather give your children more freedom to explore their imagination you can use dry erase paint such as Notable. 

Option 2: Chalk Board Wall

Chalkboard paint can be used to turn any surface into a drawing pad. 

When you’re picking up your paint, however, don’t confuse chalky finish paint with chalkboard paint. They are not the same thing.  Chalky finish paint will give your surface a matte-like finish but will not allow you to write on that surface with paint.

Chalkboard paint actually creates a chalkboard for your little ones to draw on. You can find Chalkboard paint in powder form or pre-mixed at your local crafts store. 

Step 3: Storage for the multiplying toys

The final step is giving your children a place to put all of their favorite toys. While a toy box may seem like the easy option, the truth is that children generally have several favorite toys. A toy-box doesn’t give them easy access to those toys and they may remove every single toy from the box searching for them. 

A better option is to use shelves for their favorite toys and a large storage box for the toys they don’t use very often. Make sure to install the shelves low enough for your child to reach. You can add in a few small crates for toys that won’t sit on the shelves by themselves.

Written by Stephen Alberts · Categorized: Uncategorized

Nov 11 2019

4 Easy Ways to Update Your House Before Thanksgiving Dinner

img 560x420 8

The host of the holiday dinner this year is you but you’re not sure your home is quite hosting ready. No worries there are a few quick cost-effective updates you can do to make your home feel warm, welcoming and polished without planning a full renovation.

Paint Your Front Door.

A quick and affordable way to give your home a facelift and even add a little curb appeal is adding a fresh coat of paint to your front door. Before you call in a painter make sure you pick a color that you love. Think about how you want your guests to feel as they enter your home.

Sand Down and Paint Rusted Railings.

Another way to add instant curb appeal is to give your outdoor railing a little TLC. You don’t have to spend a lot of money on brand-new railing. Instead, sand down what you have and give it a fresh coat of paint. 

You should be able to scrub off most rust with a wire brush. Next, scuff sand the surface to smooth out any imperfections. To help prevent rust in the future coat the railing with a rust-inhibiting primer. Finally, for the finishing coat go over the railing with a rust-inhibitive enamel that is compatible with the primer you used.

Paint Your Kitchen Cabinets.

With the cost of appliances, countertops, cabinets, renovating a Kitchen is one of the most expensive home improvement projects. But you don’t have to fork over thousands to give your kitchen and updated look.

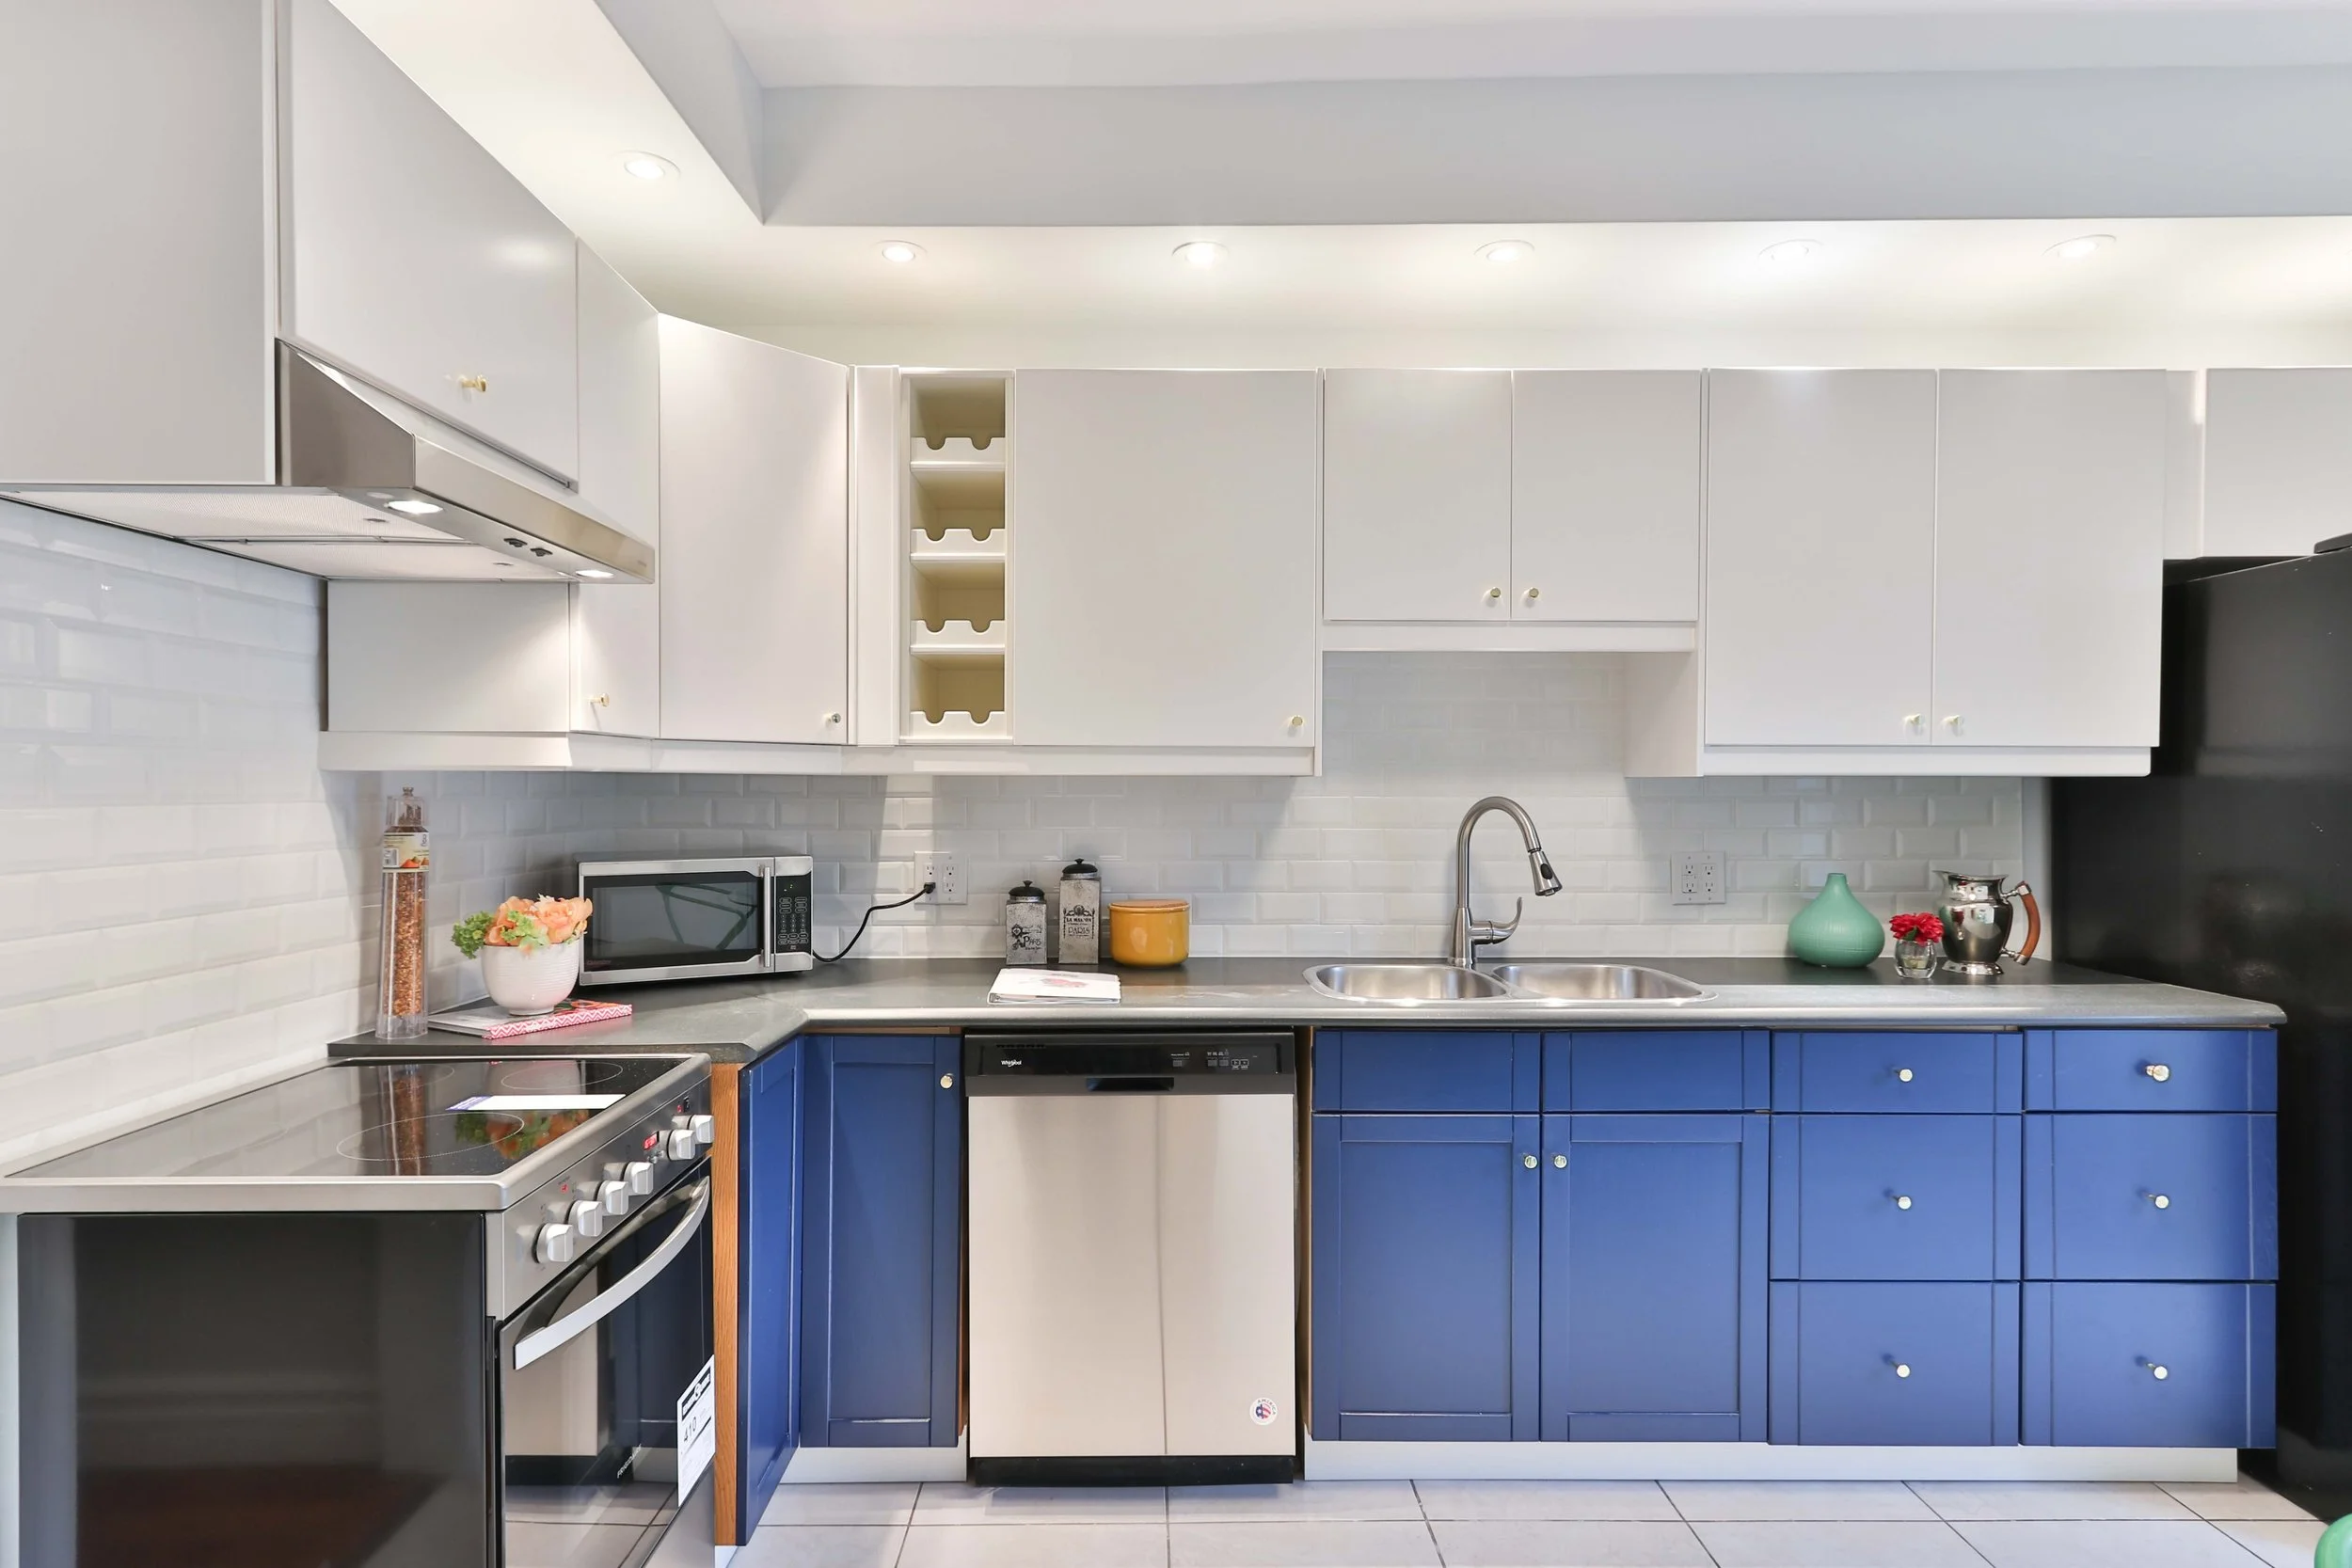
Most of the visual space in your kitchen is taken up by your cabinets. You can give your kitchen a fresh look by painting the cabinets a new color or just refreshing the old paint.

Before you run to your nearest Home improvement store and pick out a new color. Make sure you’ve properly prepared your cabinets.

Make sure you wipe down the cabinets and remove all oil or build up from the surface. This is essential for your primer to stick. Do a double cleaning of cabinets above your stove top. These are generally coated with grease.

Next you’ll need to remove the finish from your previous paint job. Sand away the finish with a palm sander fitted with 100-grit sandpaper. You will be able to tell you have removed all of the finish when all the sheen is gone. Cleanup all the dust and wipe the cabinets down.

Now you’re ready to prime and paint.

Update Your Cabinet Hardware.

While your working on the cabinets anyway go ahead and update the hardware. This is one of the most inexpensive ways to give your kitchen a new look and paired with a new paint job can really make your kitchen feel brand new.

This is a simple, if time consuming, project. The first step in this project is simply deciding on the style of hardware you want. Maybe you want to replace knobs with pulls or cup pulls. Perhaps you would like something more minimalistic.

After you’ve decided on style, you’ll need to find out how many new pieces of hardware you need. Count up all of the hardware that you will be replacing.

You will be able to remove the old hardware and replace it with new hardware using a power drill. The only tricky part of this project is making sure your pulls are straight. You can use a level to make sure your holes are placed in the right spot and you don’t end up with crooked hardware.

Need help updating your home? Request service below

Written by Stephen Alberts · Categorized: Uncategorized

Oct 02 2019

7 Ways to Update Your Kitchen

sidekix media AK42TQRyCw unsplash 560x420 1

Many people believe the kitchen is the heart of the home, but have you ever stopped to wonder why your family and friends tend to congregate in the kitchen? In many homes, the kitchen wears many hats. Besides being where you prepare meals, it is also home to last-minute school projects, a place to catch up with your friends, and more. If your kitchen is starting to feel a bit dull, consider these 7 ways to update your kitchen.

Hang Artwork.

The kitchen isn’t an obvious choice to hang artwork. Whether you have some extra space above your cabinets or an entire blank wall, set your kitchen apart by incorporating your personal style.

Add Some Wallpaper.

The peel-and-stick wallpaper options are endless these days. This is a great, non-permanent way to make a statement in your kitchen. If you change your mind, it’s a simple fix. Wallpaper isn’t the easiest thing to install, so we recommend hiring a professional to help. If you decide to get going on your own, start with an accent wall.

sidekix-media-zFGBEikZoRg-unsplash.jpg

Paint the Cabinets.

Do you have dated cabinets? Maybe the ones that resemble wood with dark graining? Chances are your cabinets could use a revamp. Instead of breaking the bank and buying brand new cabinets, try painting the cabinets you already have! Freshen up your tired cabinets with a new coat of paint. Popular cabinet colors for 2019 are white, gray, two-toned, and blue. Before you get started, refresh yourself with these painting tips.

Install New Light Fixtures.

Lighting is a crucial part of creating a functional kitchen. The color and brightness of lights can completely transform a room. Switch out your old lights for new, updated light fixtures such as pendant lights. Remember the three basic types of lighting: ambient, task, and accent. Learn more about the proper way to light your home here.

Replace Cabinets Doors with Glass.

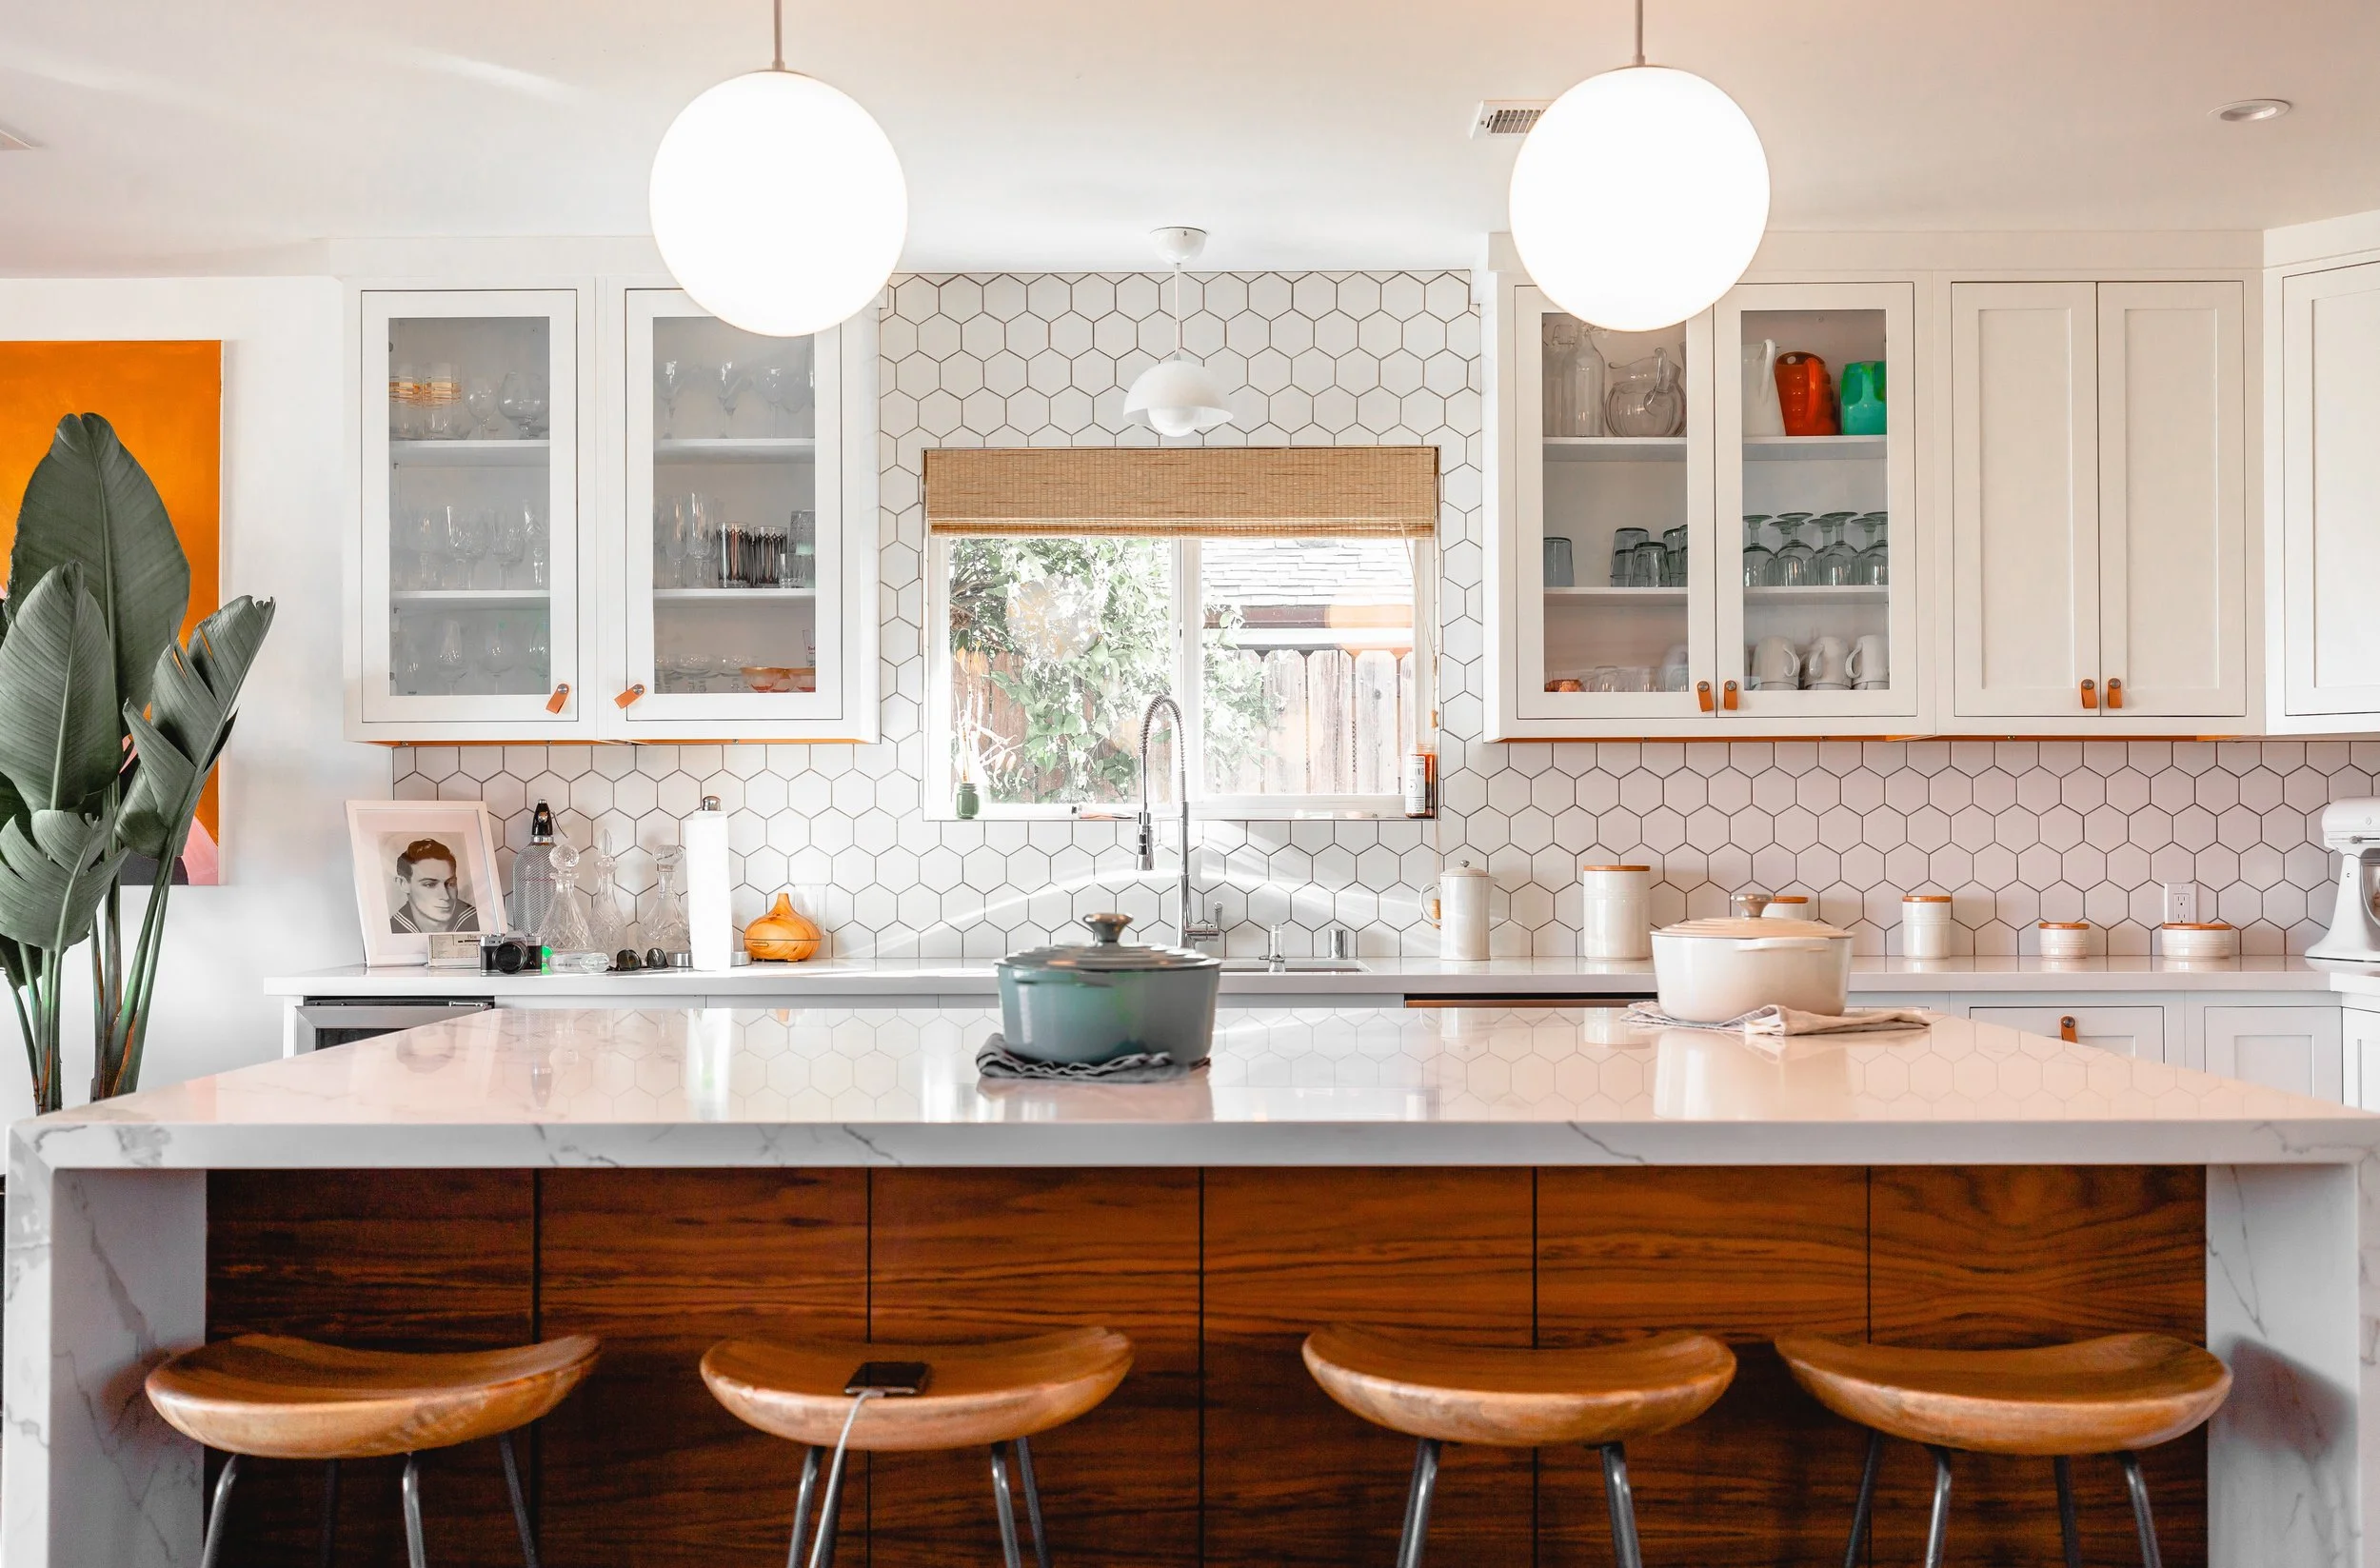
Sometimes your kitchen can feel a little too cramped. A great way to give your kitchen a fresh, open feel is to replace your solid cabinet doors with glass-paned fronts. You get to keep your storage, but also show off your dishes. Your new glass pane cabinets can almost act as a piece of art.

Display Your Collectibles.

Create some extra cabinet space by installing shelving above your windows. This is also a great way to display your collectibles as well as give your kitchen a more personable and homey feel.


rustic-vegan-RryFk4n-vOs-unsplash.jpg


Create a New Backsplash.

Installing a new backsplash is a fantastic way to bring an older kitchen up to speed. Your kitchen backsplash will act as the focal point of your kitchen. Whether you prefer a more trendy glass or a clean minimalist look, the design options are endless. Just remember as you are deciding that your backsplash will be a distinct part of your kitchen. If you are ready to install your backsplash, learn more here. If you aren’t up for the challenge, contact a professional.

We understand it’s hard to find time in your busy lives to tackle home projects. If you’re ready to update your kitchen, give One Man & A Toolbox a call today. Whether it’s installing new light fixtures or giving your cabinets a fresh coat of paint, we’re happy to help. Contact us today for a quote or fill out the form below to request a service online.

Written by Stephen Alberts · Categorized: Uncategorized

Sep 10 2019

The Ultimate Guide to Lighting Your Home

michael browning tOZ f5kl9BA unsplash 1
 

Lighting is one of the most important aspects of creating a beautiful, functional space. Proper lighting and placement can set the tone for each room and define the room’s purpose. Lighting also changes how we perceive textures and colors. When the right lighting is achieved, it can transform a room into a desirable combination of style and functionality. 

Before you begin planning, consider the activities that occur in each room and the atmosphere you want to create. Lighting can make a difference when it is used correctly. There are three basic types of lighting: ambient, task, and accent. A successful lighting plan combines all three types to light an area. 

reinaldo-kevin-EQz1tZWS1hM-unsplash.jpg

Ambient Lighting.


Ambient, or general, lighting is an essential part of any lighting plan because it sets the tone for your space and provides an overall glow. Ambient lighting creates a comfortable level of brightness, allowing you to safely get around your space. This type of lighting is usually achieved through chandeliers, ceiling lamps, mounted fixtures, or track lights. Think of ambient lighting as a basic form of lighting to replace sunlight. We recommend using lights with warmer tones.

Accent Lighting.

The main purpose of accent lighting is to create a focal point. Accent lighting builds on to the ambient lighting, adds dimension, and can be be used to draw attention to a specific feature or piece of art. To accurately draw attention, accent lighting should be at least three times brighter than the rest of the lights in the room. The goal is to draw attention to your chosen feature without directing the attention to how it is lit. Accent lighting is typically fulfilled with track lights or wall-mounted fixtures.

Task Lighting.

Task lighting is more direct, intense lighting created for detailed work like reading or writing. This type of lighting can be achieved by many different sources. You want your task lighting to reduce glare and prevent eye strain. You can adjust your task lighting depending on the task at hand. Task lighting can be created using overhead track lighting or desk lamps. Make sure your task lamps are adjustable. If not, at least make sure you can angle your task lamp to reduce glare, limit shadows, and avoid damage to the eyes.

For each of these three different types of lighting, there are numerous fixtures available.

Mounted Fixtures.

As the name implies, these light fixtures are mounted directly to the wall or ceiling. In most cases, they feature a glass or plastic shade to cover the lightbulb and diffuse the light evenly. Mounted fixtures, specifically on the ceiling, are used as ambient lighting.

Recessed Lighting.

Recessed lighting is installed above the ceiling. The wiring of the light is hidden behind the ceiling wall. Because recessed lights are level with the ceiling, they require around five to eight inches of space for installation. Recessed lights can be used to produce ambient, accent, and task lighting.

Track Lighting.

Track lighting fixtures attach to a track mounted to the ceiling or hung from the ceiling. This allows the ability to adjust and reposition the lighting, which is perfect for kitchen or gallery spaces where task or accent lighting is necessary. You can simply adjust the focus to the desired area.Desk and Table Lamps.

The most common way task lighting is achieved is with desk and table lamps. Table lamps are great because they’re flexible and can be positioned as needed. They portray light downward, lighting up the surface below rather than providing an overall glow. This is what sets task lighting apart from ambient lighting.

Once you’ve crafted the perfect lighting plan for your home, give us a call. We’ll put your plan into action and take care of the installation process. Contact us today for a quote or fill out the form below to request a service online.

Written by Stephen Alberts · Categorized: Uncategorized

  • « Go to Previous Page
  • Page 1
  • Interim pages omitted …
  • Page 24
  • Page 25
  • Page 26
  • Page 27
  • Page 28
  • Interim pages omitted …
  • Page 30
  • Go to Next Page »
</